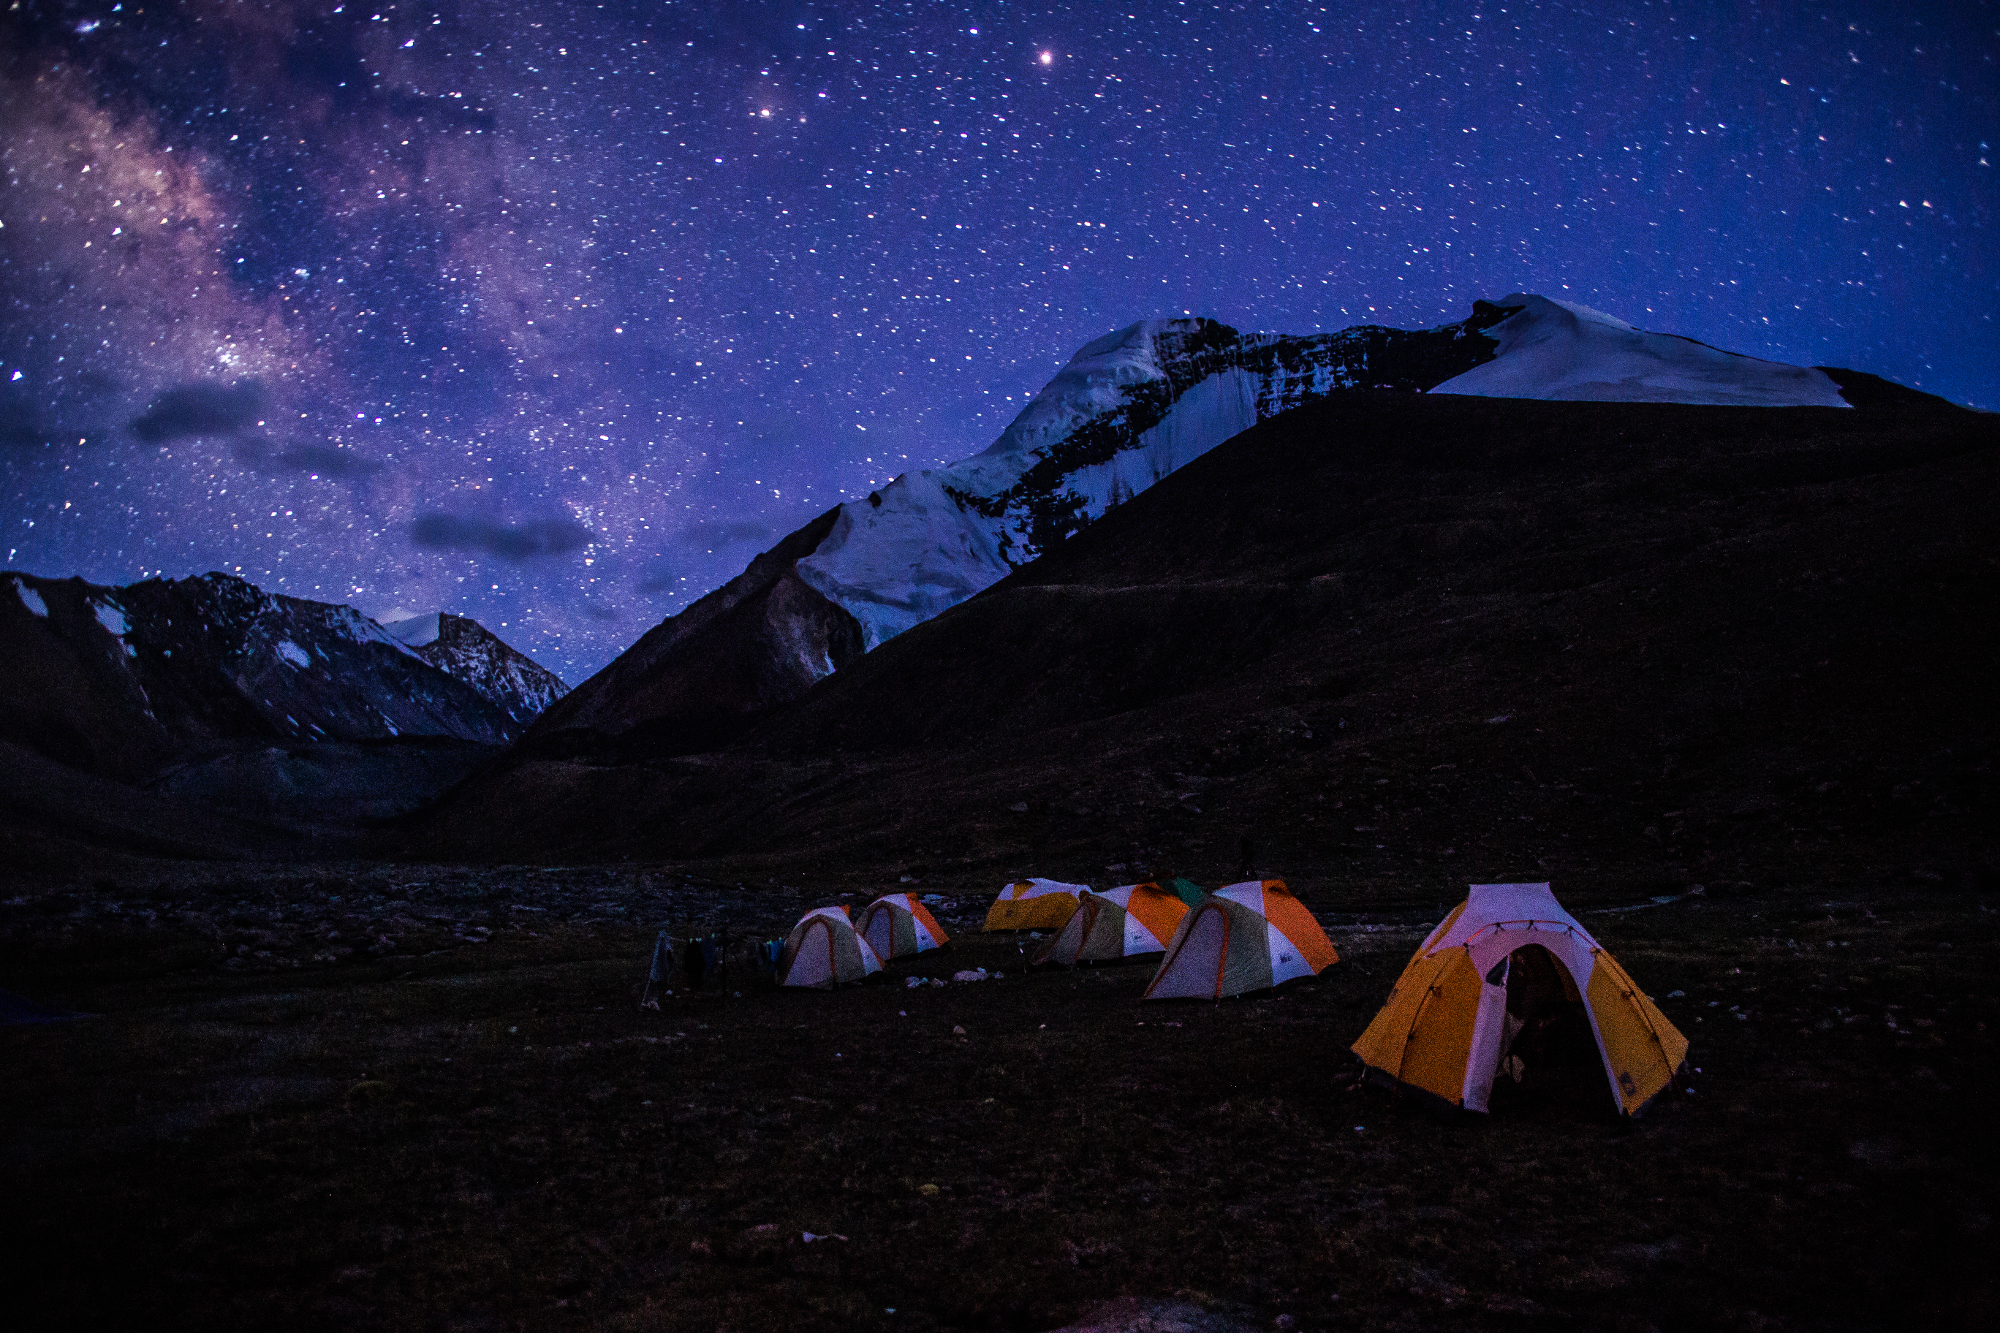
 This image was shot while trekking in Markha Valley at Kang Yatse II base camp. For this I had used a Canon 6D DSLR and a Tamron 28-300mm lens. A steady tripod is a must to take a shot. For this image, I had used my Mefoto Globetrotter. In addition to the above, a remote shutter release also comes in handy in order to avoid any camera shake. This would normally occur when pressing on a shutter during a long exposure of let’s say 30 seconds. This would ruin the composition.
I set the lens at a wide angle, use a high ISO setting of 6400 to make the sensor more sensitive to whatever natural light is available, set the exposure time to 30 seconds and use a large aperture value. A point to note is that the larger the sensor of the camera, the more better are it’s low light shooting capabilities meaning less grain or noise at high ISO settings. Normally with these settings under normal lighting conditions, the image would be highly overexposed but since I was shooting under low light conditions, I had to let in as much light as possible. I always prefer using auto focus mode but in dark and low light conditions, auto-focusing does not work as the camera finds it difficult to focus on an object. Therefore to overcome this, I switched to manual focusing and here we have to manually focus on a bright object. This does take a few tries to get a sharp composition.
The camera was also set to manual mode. If I was to compose the shot in either shutter priority or aperture priority modes, then it would force me to use the aperture or shutter value respectively set by the camera’s metering system. And to overcome this issue, manual mode is used in such conditions.