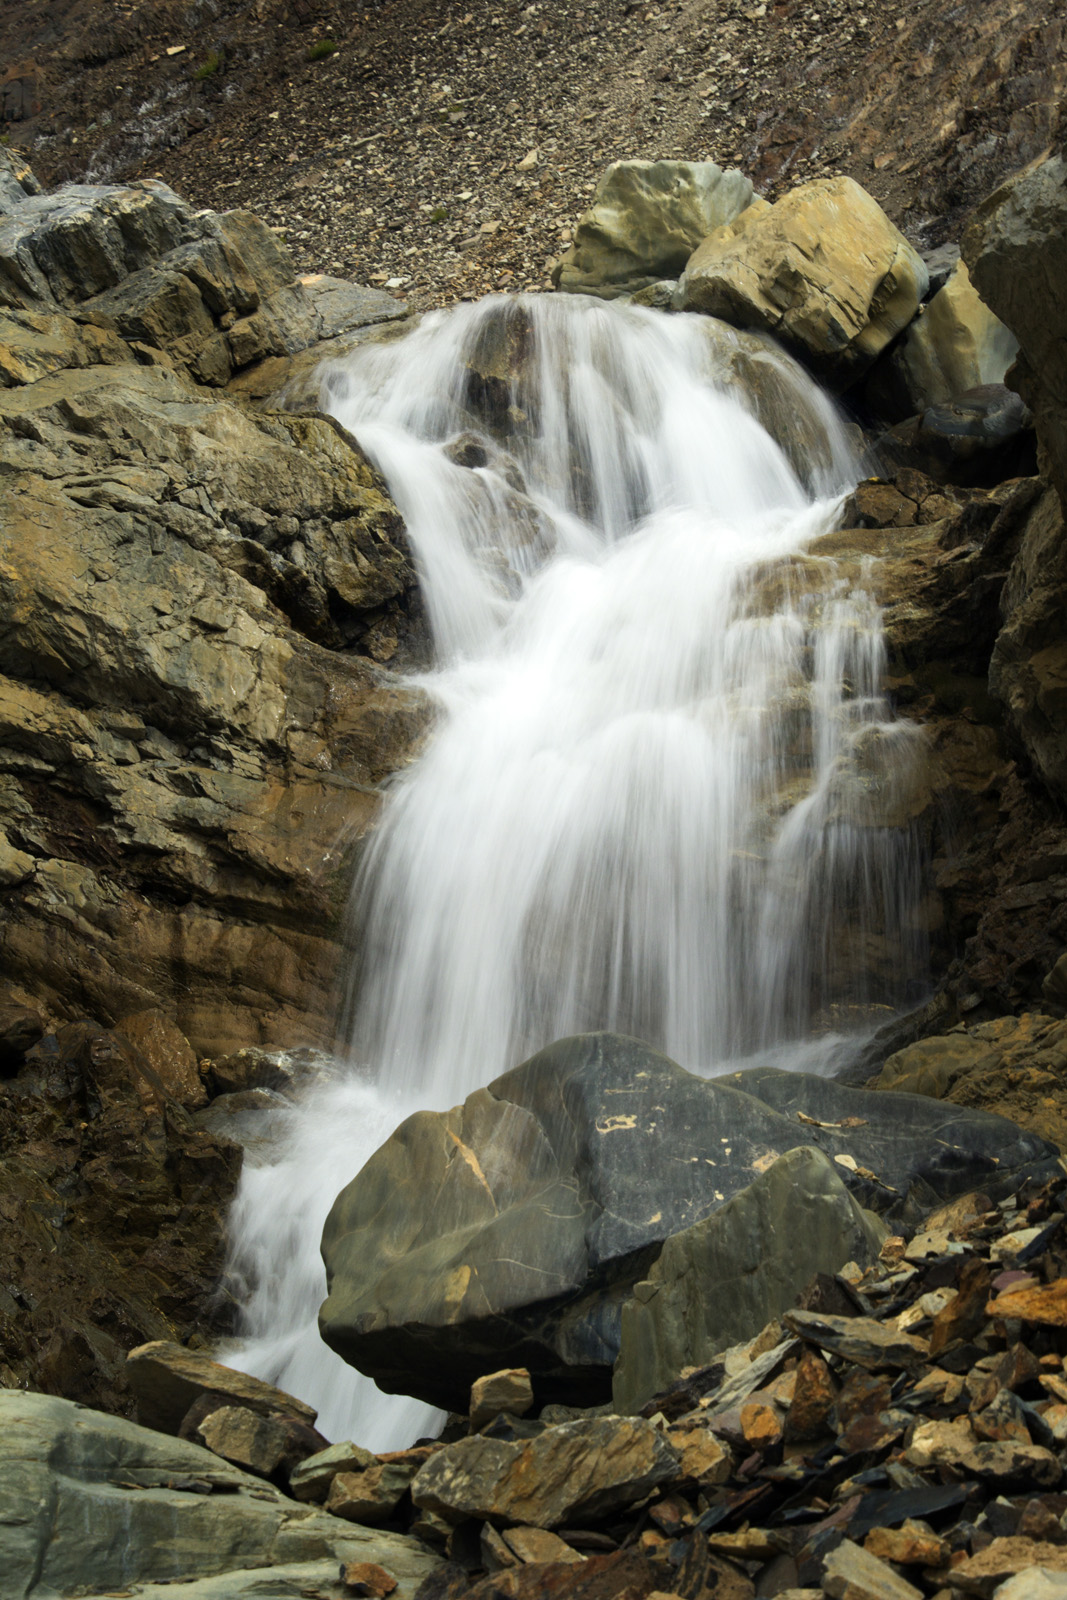
To any Landscape photographer, ND filters and polarizers are useful tools for great photography. Here I will be talking about the differences between constant ND filters and variable ND filters and how to use a variable ND filter. A ND filter is neutral so it should not affect colour or saturation but only reduce the amount of light.
A variable ND uses polarizing to vary the density hence you get a similar effect as a using a plain polarizer but using a wider range of polarizing effect.
Variable ND filters do use polarizing glass. These are useful in certain situations. You may own an 85mm f/1.9 legacy lens that does a great job in normal conditions. But if you happen to use that lens on a very bright sunny afternoon at the widest aperture then this lens is difficult to use in those conditions because of the blown highlights it delivers. Blown highlights are overexposed areas of the image.
In manual mode with the exposure value set to “0” EV, you want to compose an image at 1/10 second shutter speed and aperture set at f/4 but the image is overexposed due to shooting in bright sunlight. One could argue is to use a smaller aperture or faster shutter speed to underexpose the image but what if the photographer wants to photograph the subject using above mentioned settings to achieve a bokeh background and achieve some motion blur at same time?
This is where the ND filter will come into the picture. So in order to get correct exposure, one will need to use an ND filter to block a certain amount of light. A correct exposure does not always mean that the camera is set to an exposure value of “0”EV. Say you have a solid 4-stop ND filter aka as ND16 filter. When attached to the lens, this will block 4 stops of light resulting in a correct exposure. (Blocking 4 stops of light will keep the shutter open for longer by 4 stops from 1/10 sec to 1.6 sec even at a negative exposure value.
This is due to the camera metering system trying to compensate to take a correctly exposed image.) What this means is that in manual setting, if you were to use an aperture setting of f/4 and fixed shutter value of 1/10 sec and use an ND16 filter to block 4 stops of light, the image will be totally underexposed by 4 stops. (In order to expose correctly at “0”EV, one would have to let in 4 stops of light. This can be done in two ways either use a narrower aperture value or a slower shutter speed. If using narrower aperture setting then everything in the image will be sharp and it will lose the bokeh effect. Therefore it is best to use a slower shutter speed to let in light by up to 4 stops.)
You could do the same basic thing with a variable ND and you do not have to worry about how much light reduction the variable ND is providing or how many stops of light it is blocking. First step is to compose the scene in manual mode with the metering set at “0” exposure value. If in manual mode, you then need to decide if you want a wide aperture value or a small aperture value. If using a wide aperture at let’s say f/4 in combination with a slow shutter speed of 1/10 of a second, the image may be overexposed even at “0”EV and this may not be the effect you are looking for. Therefore in order to get the result you need, all that is required is to rotate the filter to block more light. The shutter value may or may not change but always adjust the metering to “0” exposure value if it goes off mark in either direction and test your shot.
Variable ND filters are not like a standard ND where you have to count the stops. You simply compensate shutter speed to EV.
If using manual mode, you would instantly see how it works. There is no reason to count stops. If you want 30 seconds at “0” EV, just rotate the filter until it gets there. Manual setting is used if nothing automatically compensates.
The only issue with variable ND filters is that when both pieces of glass cross; this creates a halo type effect which ruins the image.

